Last year at this time, I was building my studio and acquiring gear at a pretty good clip. Some of the new synthesizers I was buying were rackmountable. and I was a little turned off at the cost of buying a prebuilt rack to house them in. After consideration, I thought maybe I could build one of my own. It shouldn’t be hard. It’s a freaking box. It’s got four sides. You have a saw and screwdriver, you should be able to do this.
I do have all the tools you would need to accomplish this, and I had a few minor woodworking projects under my belt already. I had built a shitty platform for my washer and dryer. I had built a couple of sunglasses racks as well. I think I was ready to try this. Spoiler alert, it’s not exactly cheaper to do it yourself, but the satisfaction sort of makes up for it (that’s always what they say, isn’t it?)
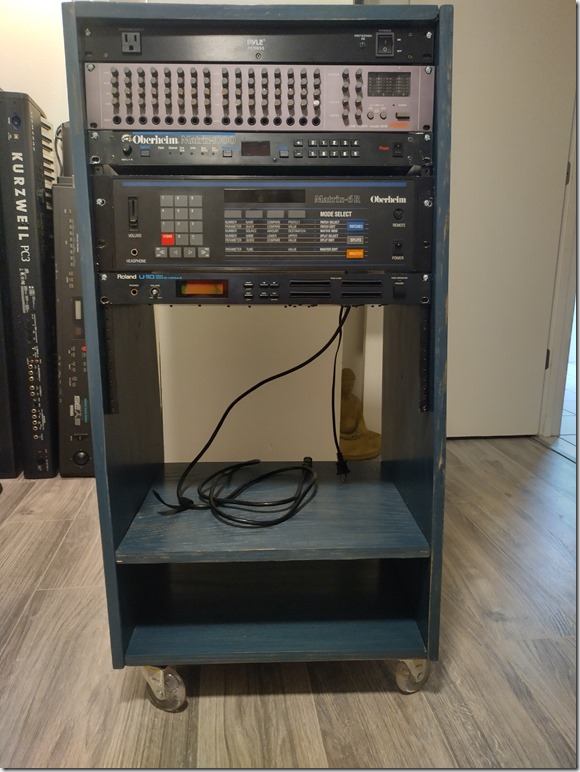
And so I built my first rack. It was 12U rack with an extra shelf.

Oddly, the stain I chose was supposed to be a light grey (kind of like the floor) and was actually blue. Whatever, it’s fine. It’s not like once I started applying the stain I could just undo it.
And this rack served me pretty well for that year. I outgrew it quickly, though, and I wanted more space. I needed more space because I was starting to gather up rackmount effect units. So I began making mental plans to build a second rack. This old rack would then be dedicated to effects and the new larger rack would be all synthesizers.
The old rack had a capacity of 12U. I decided to go big this time and bought 22U rails. Another thing I didn’t like from v1 is that the floor and shelf of the rack are from some extra scrap wood I had around and this time I wanted the whole thing to have the same wood finish, so I bought extra panels to cut up. I ended up using 3 of the 4 sheets, so my wood cost went up by only 50%.
I got by by using my 20v tools the first time, but the circular saw was pretty underpowered for the job. More than once it stalled out cutting through the wood and it never seemed to keep a straight cut. So this time I bought a high-power corded saw, which is an additional up-front cost, but will be used much more in the future, I’m sure. I also have a corded drill and when I need that level of power, it’s very nice to have that option. And the saw did a tremendous job. i was able to cut the slant on both sides sheets at once, so they are perfectly matched.
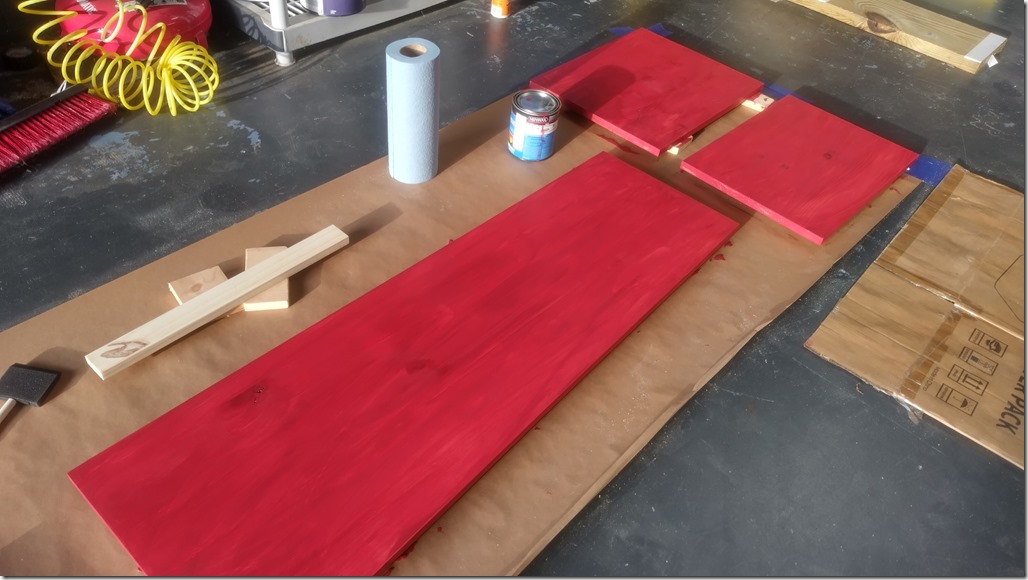
I have wheels from a previous project that I can use, and I’m going to use pocket screws again because they seem really strong, and also because I have a lot of them on hand. I’m going to double the number of screws I use for extra strength this time. I’m not going to forgo the wood glue this time. It makes a world of difference. I have poly sealant from last time, but I didn’t think I had enough blue stain to cover the new larger size (48" high instead of 38"), so I bought some new stain. This time, red. Not red like cherry wood, I mean cherry RED.
Taking some cues from Nord Keyboards, for sure.
Once this is done, as is tradition, it’s only the start of the purchases. All the equipment from the old rack will be moved to the new one, and that will work as-is. but when I add more devices, I’ll need to add a second rack mixer. There’s going to be more devices to power, but I already purchased a larger power strip for install from Woot, who listed one recently, conveniently enough.
Then, looking at the population of the old rack with the effect units that are piling up in my closet, I need to buy a new patchbay to route them. I have a power switch that I had purchased a while ago from the same place I bought the Roland U-110 and my 32 channel mixer. And additional power will be available from the power strip already installed in it. Other than that? Cables. Bunches more cables. Cables to connect the effect units to the patchbay, and maybe some mid-length cables to route between the synth patchbay and the effect patchbay.
And here’s the new rack:
With all the gear swapped out and organized

Of course, like every picture, it’s always out of date. The FX rack now has a patchbay to route to the synth rack and an improved power switch. The synth rack now has a new entry as well. So now it’s time to update the 2024 studio purchase log.


Comments are closed.